The Allow & Block feature in the EZDZSEND platform helps sellers enhance platform security and prevent fraud by managing trusted and restricted email or domain. Using Whitelists (Allow) and Blacklists (Block), sellers can control buyer purchase behavior based on email or domain rules.
- Whitelisted Email or Domain (Allow List): Buyers using this email or domain can complete purchases successfully without any restrictions.
- Blacklisted Email or Domain (Block List): Buyers using this email or domain will have their transactions set to Pending. The purchase will only be completed after the seller manually reviews and approves the transaction.
This feature ensures safer transactions and gives sellers full control over suspicious or trusted traffic.
Here Seller Can Do:
- Add Email or Domain to Whitelist (Allow) or Blacklist (Block)
- Edit existing email or domain details
- Delete email or domain records
- Activate or inactivate email or domain
- Import email or domain list in bulk
- Export email or domain list
- Perform mass actions:
- Delete selected email or domain
- Activate all
- Inactivate all
- Filter email or domain records by:
- Status (Active / Inactive)
- List Type (Whitelist / Blacklist)
Add New Email or Domain #
To add a new email or domain to your allow & block list, follow these steps:
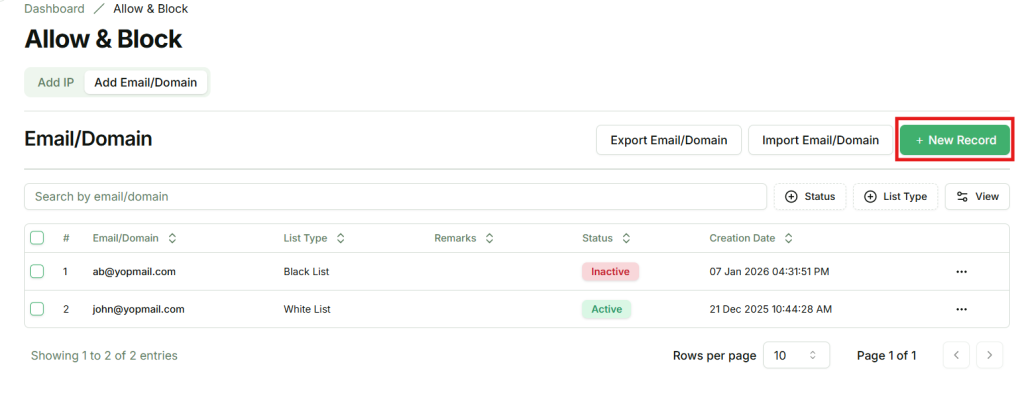
1. Navigate to the Allow & Block Page
From your seller dashboard, go to the Add Email/Domain section. Here, you will find a button labeled New Record.
2. Open the New Record Modal
Clicking New Record will open a modal where you can add a new email or domain.
3. Fill in email or domain Details
In the modal, provide the following information:
- Email or Domain – Give an email or domain.
- Select Type – WhiteList or BlackList
- Remarks – Notes for internal reference

4. Email or Domain Added
Once all conditions are satisfied and the required fields are filled correctly, the email or domain will be successfully created, and whitelist or blacklist logic apply.
Edit Email or Domain #
Sellers can update the details of existing email or domain details using the Edit email or domain feature. To do this:
1. Locate the Email or Domain
From the email or domain list, find the email or domain you want to edit.
2. Open the Action Menu
Click the action button (…) next to the email or domain. A popup menu will appear.
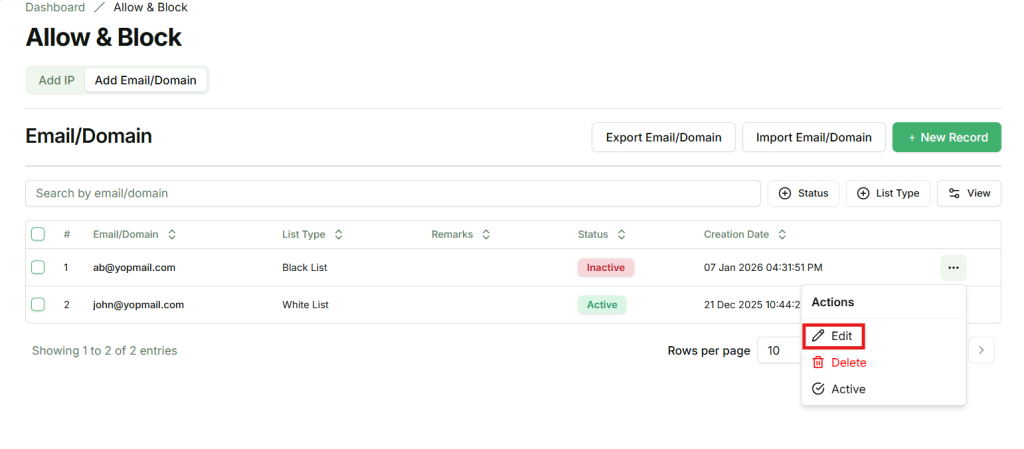
3. Select Edit
In the popup, click Edit. A modal will appear where you can update the email or domain details.
4. Update Email or Domain Details
- Email or Domain – You can modify the email or domain.
- Select Type – You can modify WhiteList or BlackList
- Remarks – You can modify Notes for internal reference

5. Save Changes
After updating the details, click Submit to apply the changes. The email or domain will be updated and reflected in the list.
Active or Inactive #
Sellers can activate or inactivate existing email or domain from the list to control whether whitelist or blacklist rules are applied.
- By default, an email or domain is set to Active.
- When an email or domain status is Active:
- Whitelist Email or Domain: Buyer purchases are completed successfully without restrictions.
- Blacklist Email or Domain: Buyer transactions are marked as Pending and require seller approval.
- When an email or domain status is Inactive:
- Whitelist or blacklist rules do not apply
- The email or domain is ignored during the purchase process, and no restrictions or allowances are enforced.
This flexibility allows sellers to temporarily disable email or domain rules without deleting records, ensuring better control over security and transaction management.
1. Locate the Email or Domain
From the email or domain list, find the email or domain you want to active or inactive.
2. Open the Action Menu
Click the action button (…) next to the email or domain. A popup menu will appear.
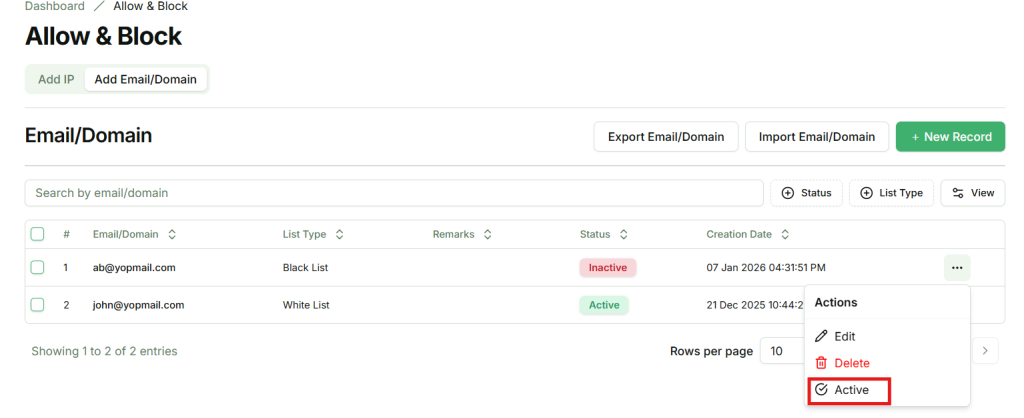
3. Select Active or Inactive
In the popup, click Active or Inactive. A confirmation modal will appear to ensure you want to update it.
4. Confirm Active or Inactive
Click Confirm in the modal. The email or domain item status will update.
Delete Email or Domain #
Sellers can permanently remove an email or domain from the allow or block list. Once deleted, the email or domain will no longer be tracked, and no whitelist or blacklist rules will apply to it.
1. Locate the Email or Domain
From the email or domain list, find the email or domain you want to delete.
2. Open the Action Menu
Click the action button (…) next to the email or domain. A popup menu will appear.
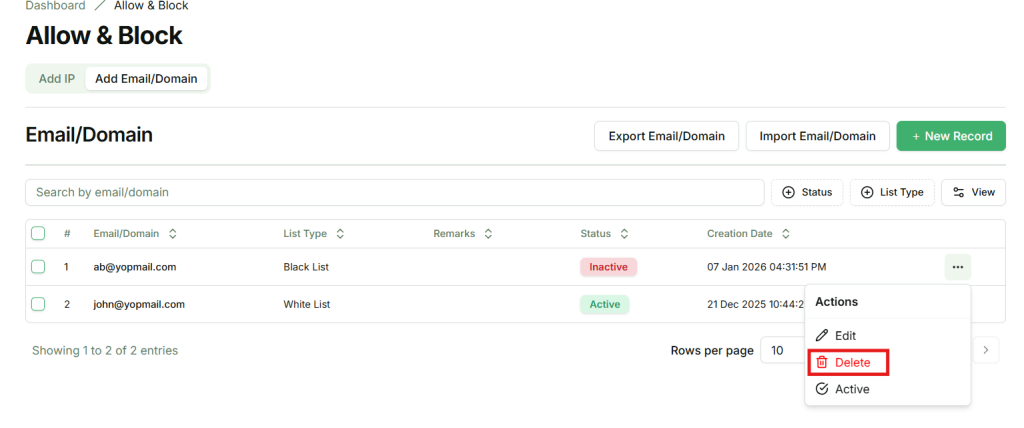
3. Select Delete
In the popup, click Delete. A confirmation modal will appear to ensure you want to proceed.
4. Confirm Deletion
Click Confirm in the modal. The email or domain will be permanently deleted.
⚠️ Note: Deleted email or domain cannot be recovered. To apply rules again, the email or domain must be added as a new entry